Installation
Tools needed for installation:
- Chop box
- Hand Saw
- #2 Phillips screwdriver with or without drill
- Measuring tape
- Pencil
- Black marker
- 1-1/4” course sheetrock screws
Installing the Back-track:
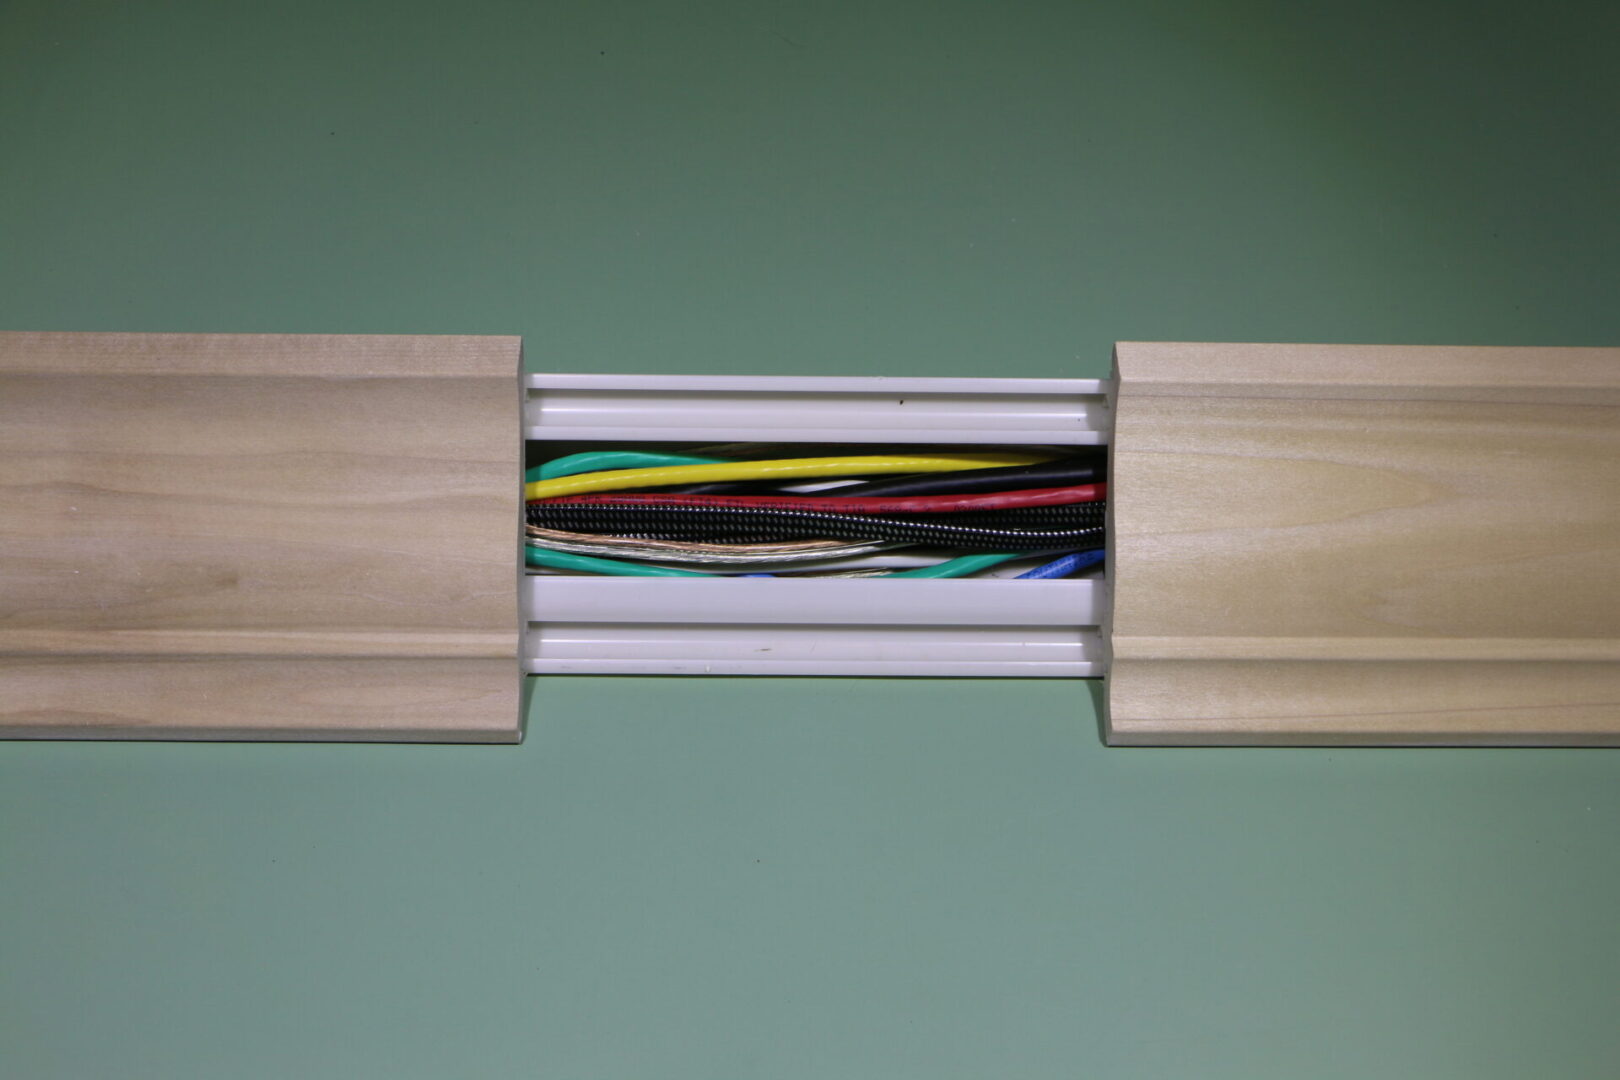
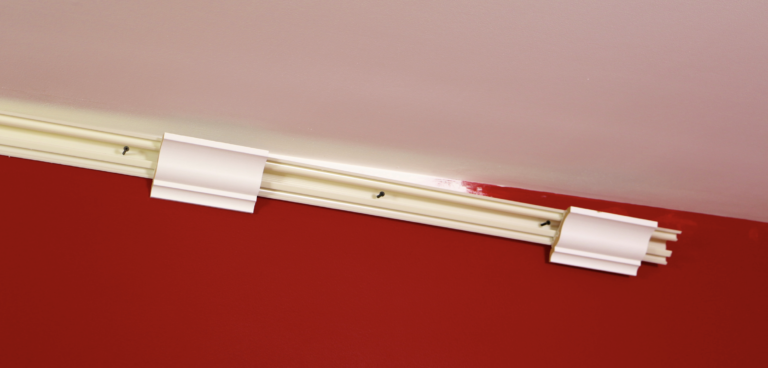
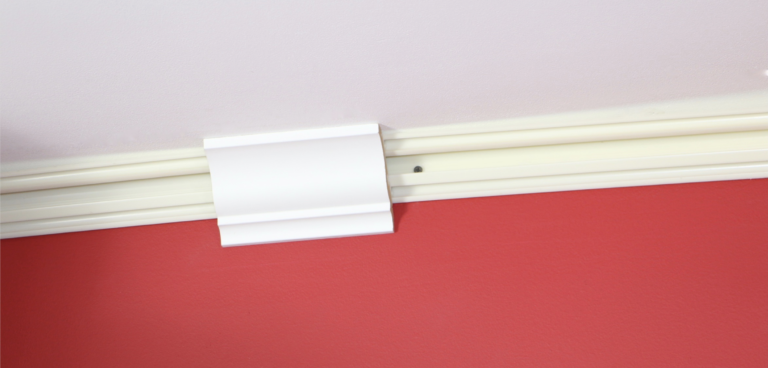
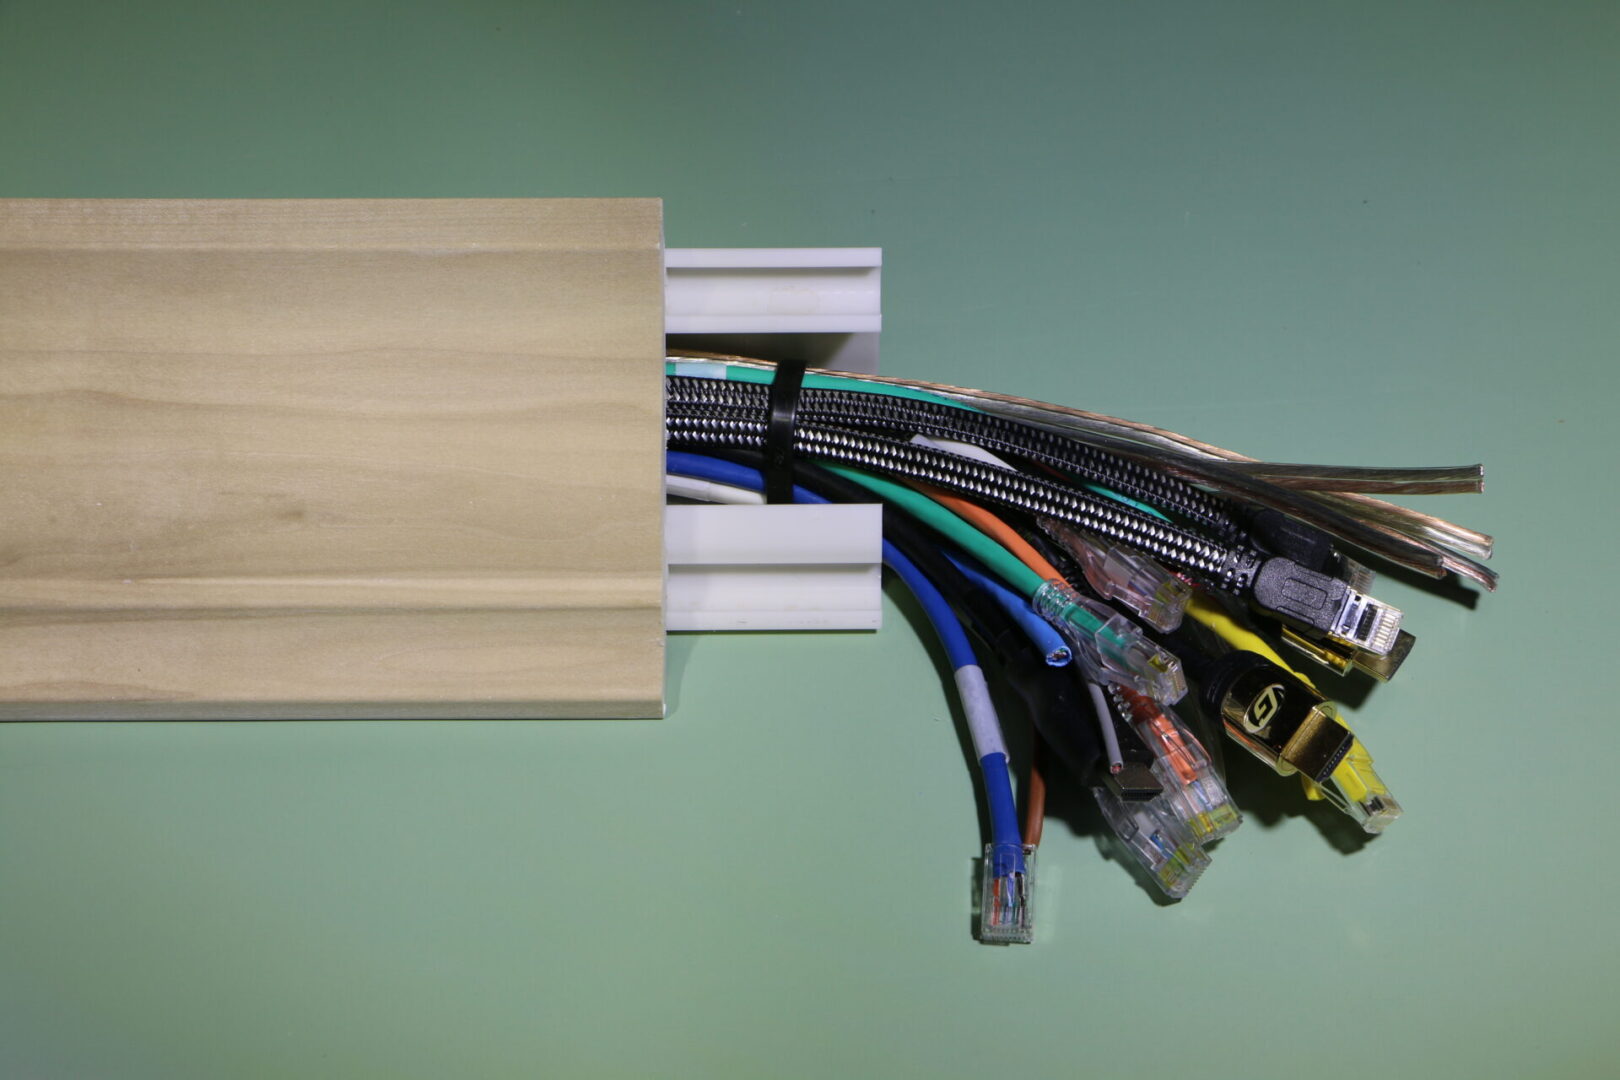
The back-track holds the crown moulding and components in place and also acts a cable raceway. The wall side of the back-track is identified by 2 lines in the raceway. See photos below:
Note: The back-track must be installed in full lengths where the crown moulding will be installed.
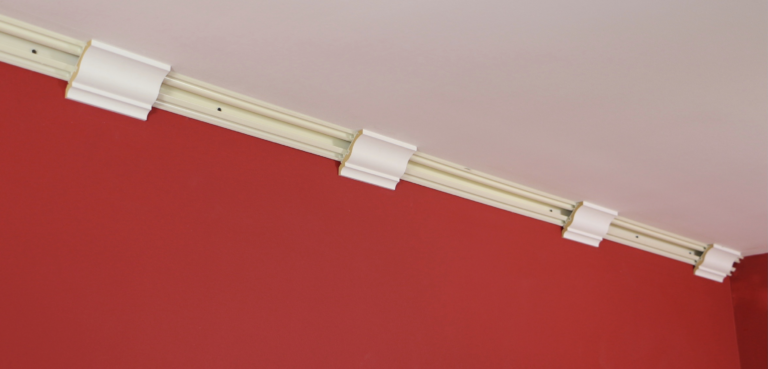
1. To install the back-track, cut small pieces (scrap) of the crown moulding and insert into the back-track approximately every 2′.
2. Place the back-track between the ceiling and wall, hold cut piece of crown moulding flush to the wall and ceiling and install a 1-1/4” course sheetrock screw starting at the center of the track and working towards each end. To make it easier, you can pre-drill pilot holes in the back track with a 1/8" drill bit.
3. Continue to install screws every 16” working towards the outer edges.
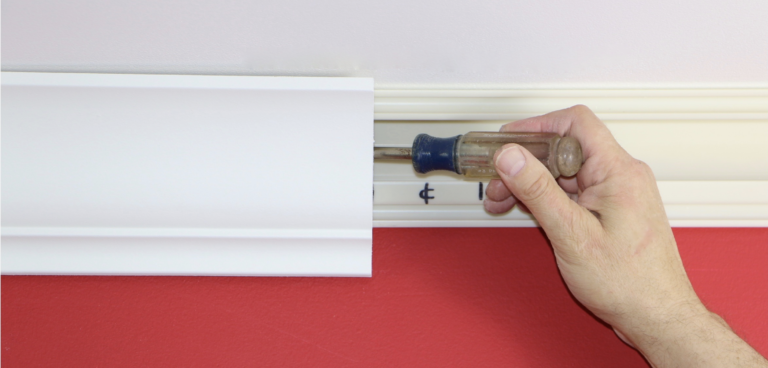
4. Remove blocks by inserting a screw driver between the crown moulding and back-track, pulling toward you. Back-track is now ready to install the crown moulding.
Walls 16’ Long and Under:
In the steps below we recommend marking the back-track using a black marker. These markings help identify the location of the crown moulding for painting and refinishing and installation, removal and replacement of future cabling upgrades.
1. Measure the walls to be trimmed and obtain the linear footage needed.
2. Divide this number in half, mark and identify the center line on the back track.
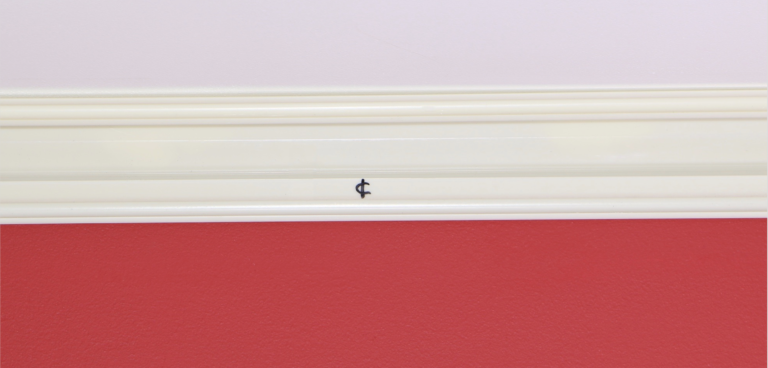
3. Measure and mark your back-track for the appropriate space needed for each component.
"Inside / Outside Corner and Keystone install spacing measurements"
45 Inside Corner
Measure & mark back-track
5⅝" from each wall
45 Inside Corner
Measure & mark back-track
3" from center mark
45 Inside Corner
Measure & mark back-track
2¼" from each corner
↑ CLICK IMAGES ABOVE TO ENLARGE ↑
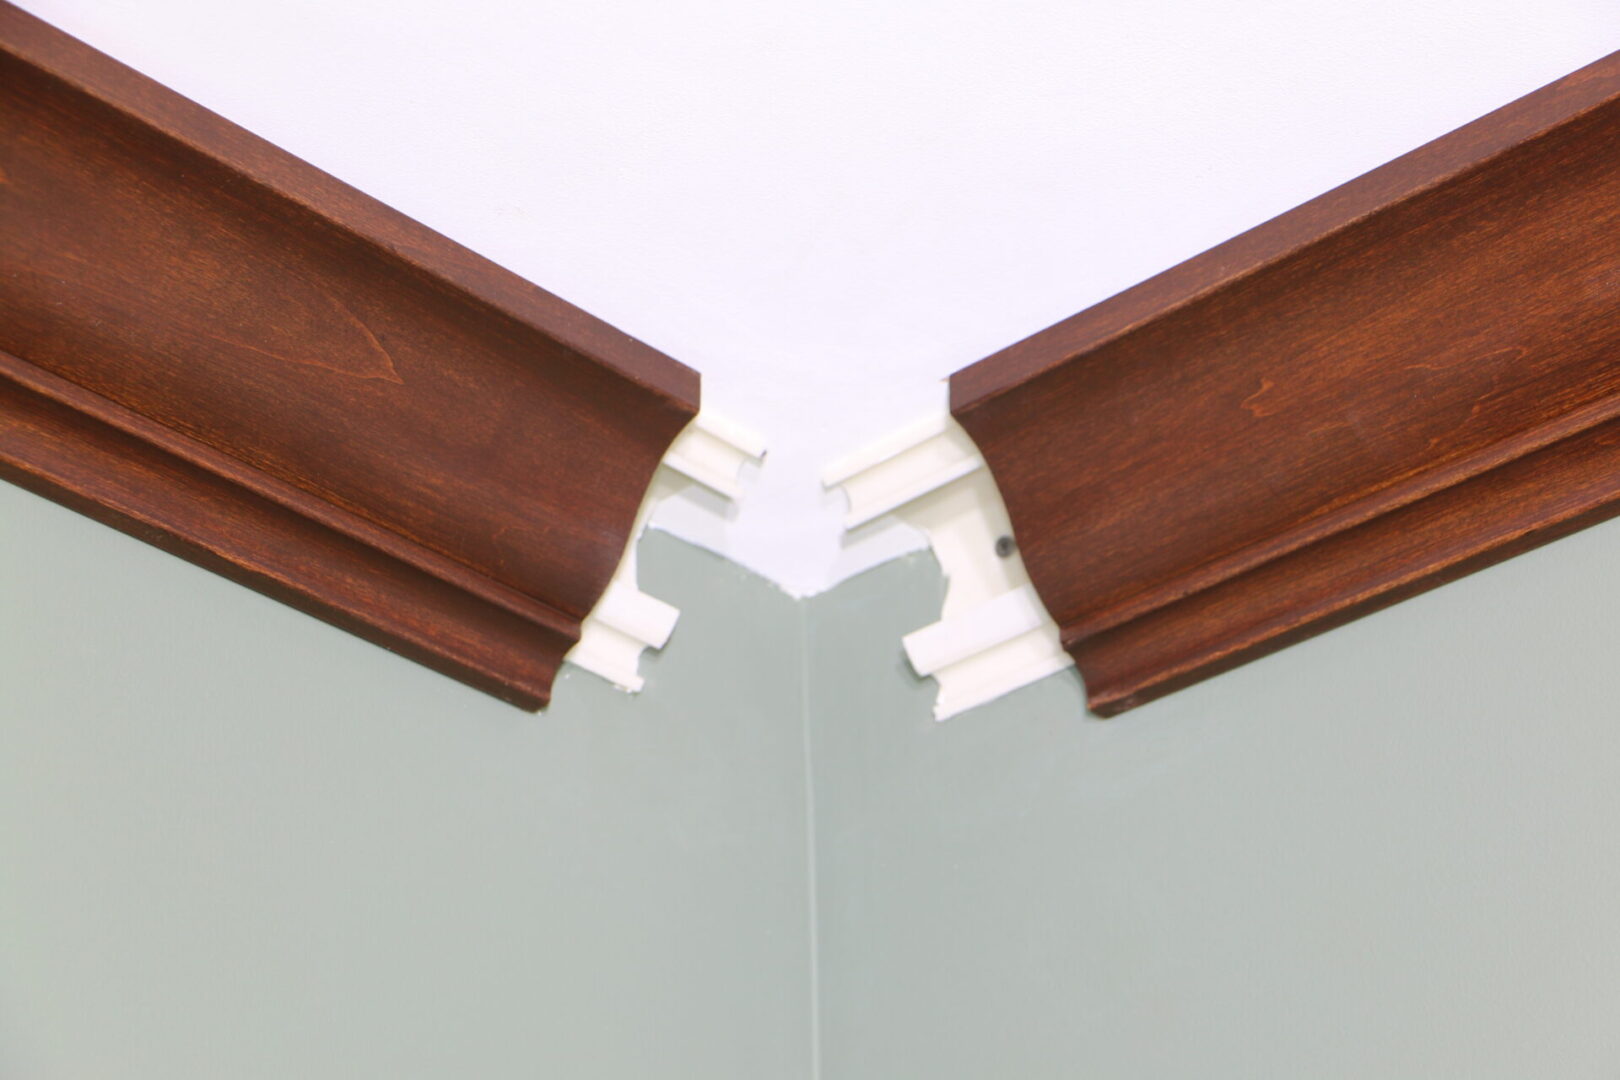
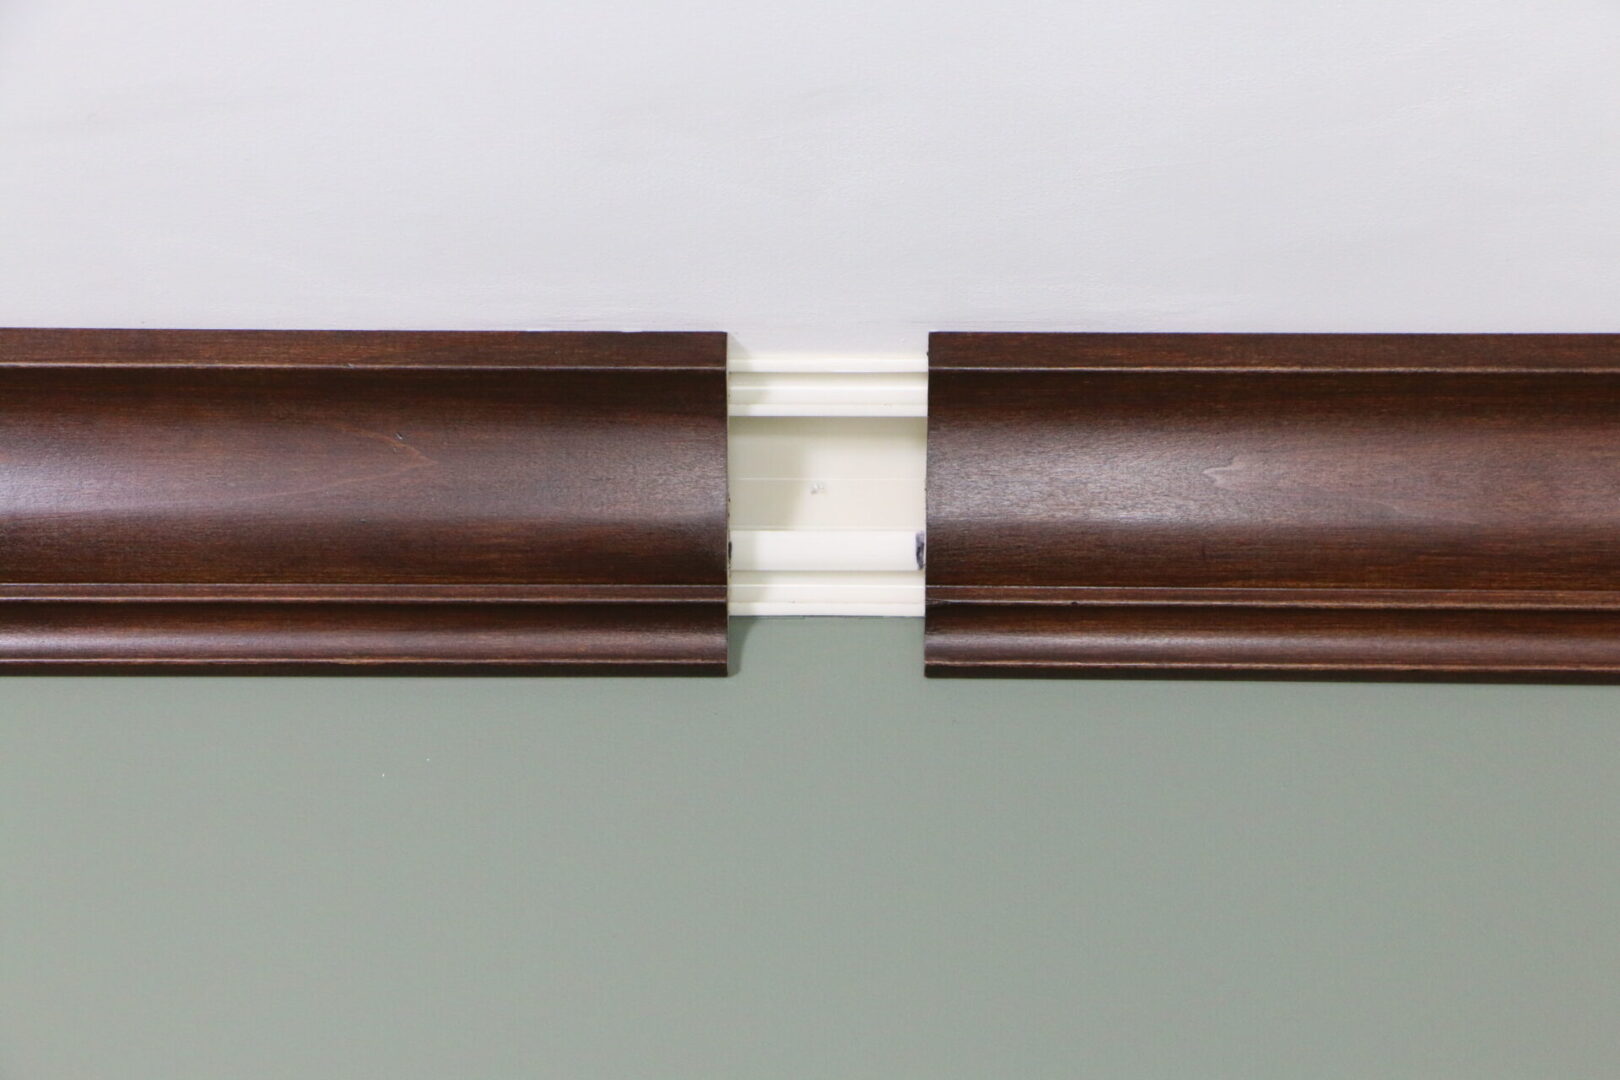
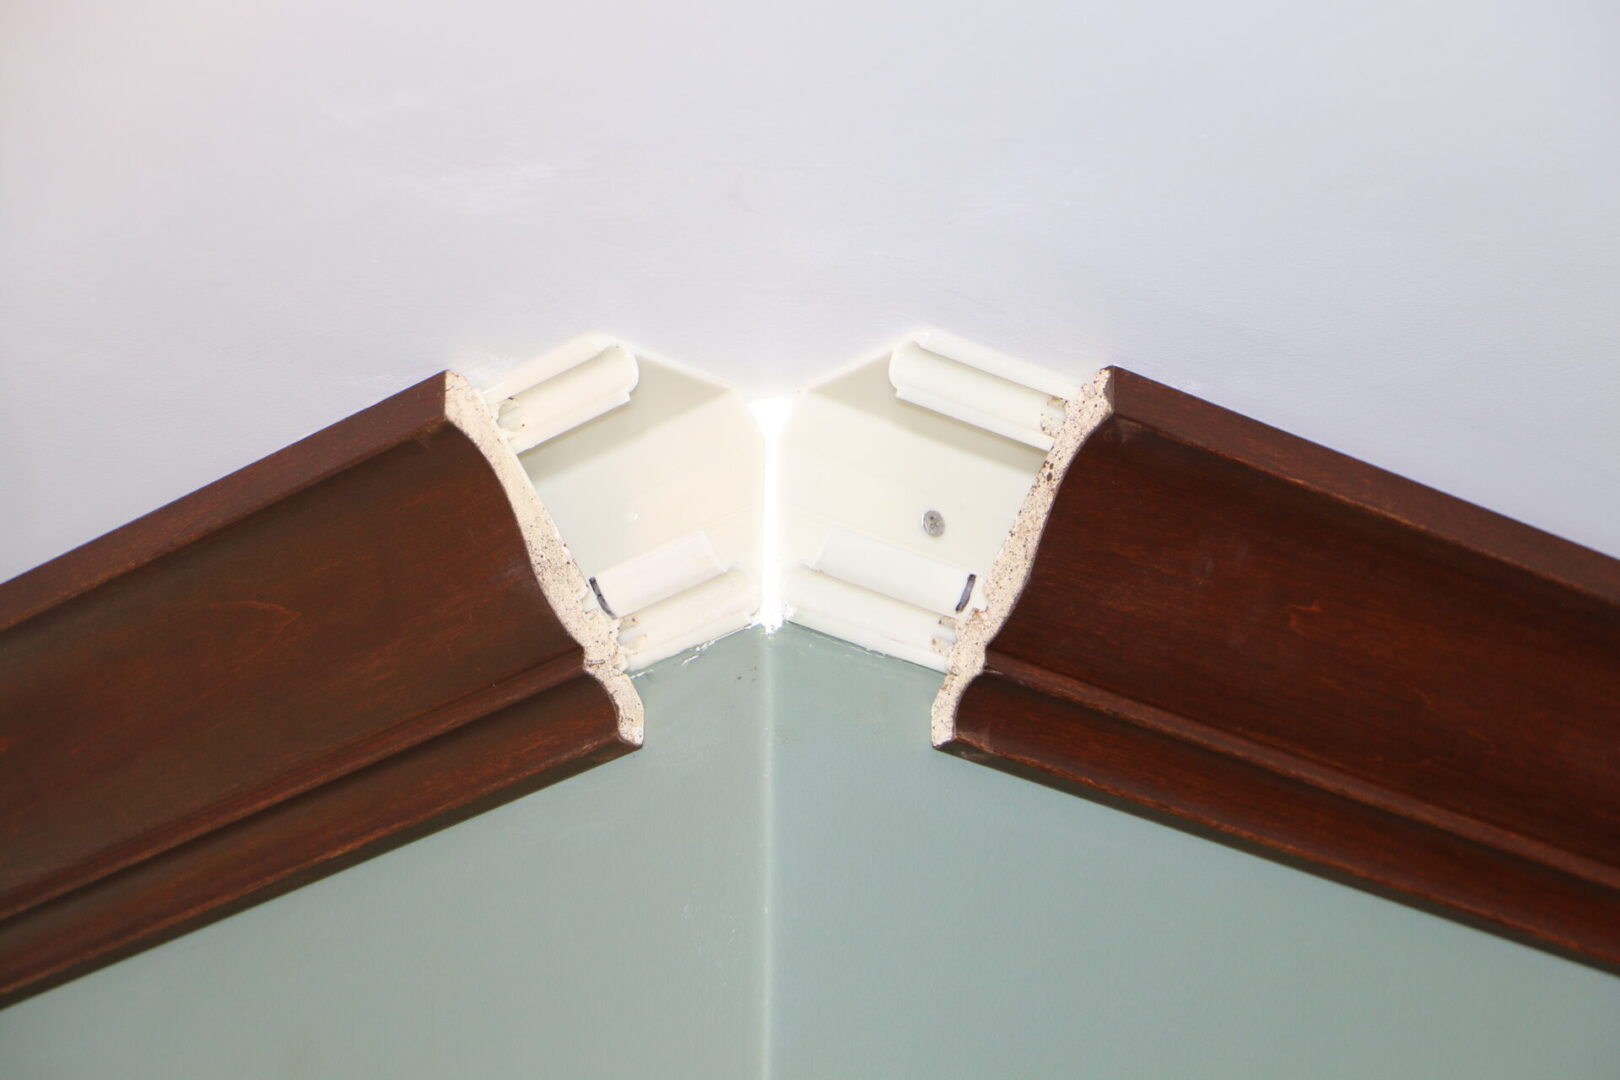
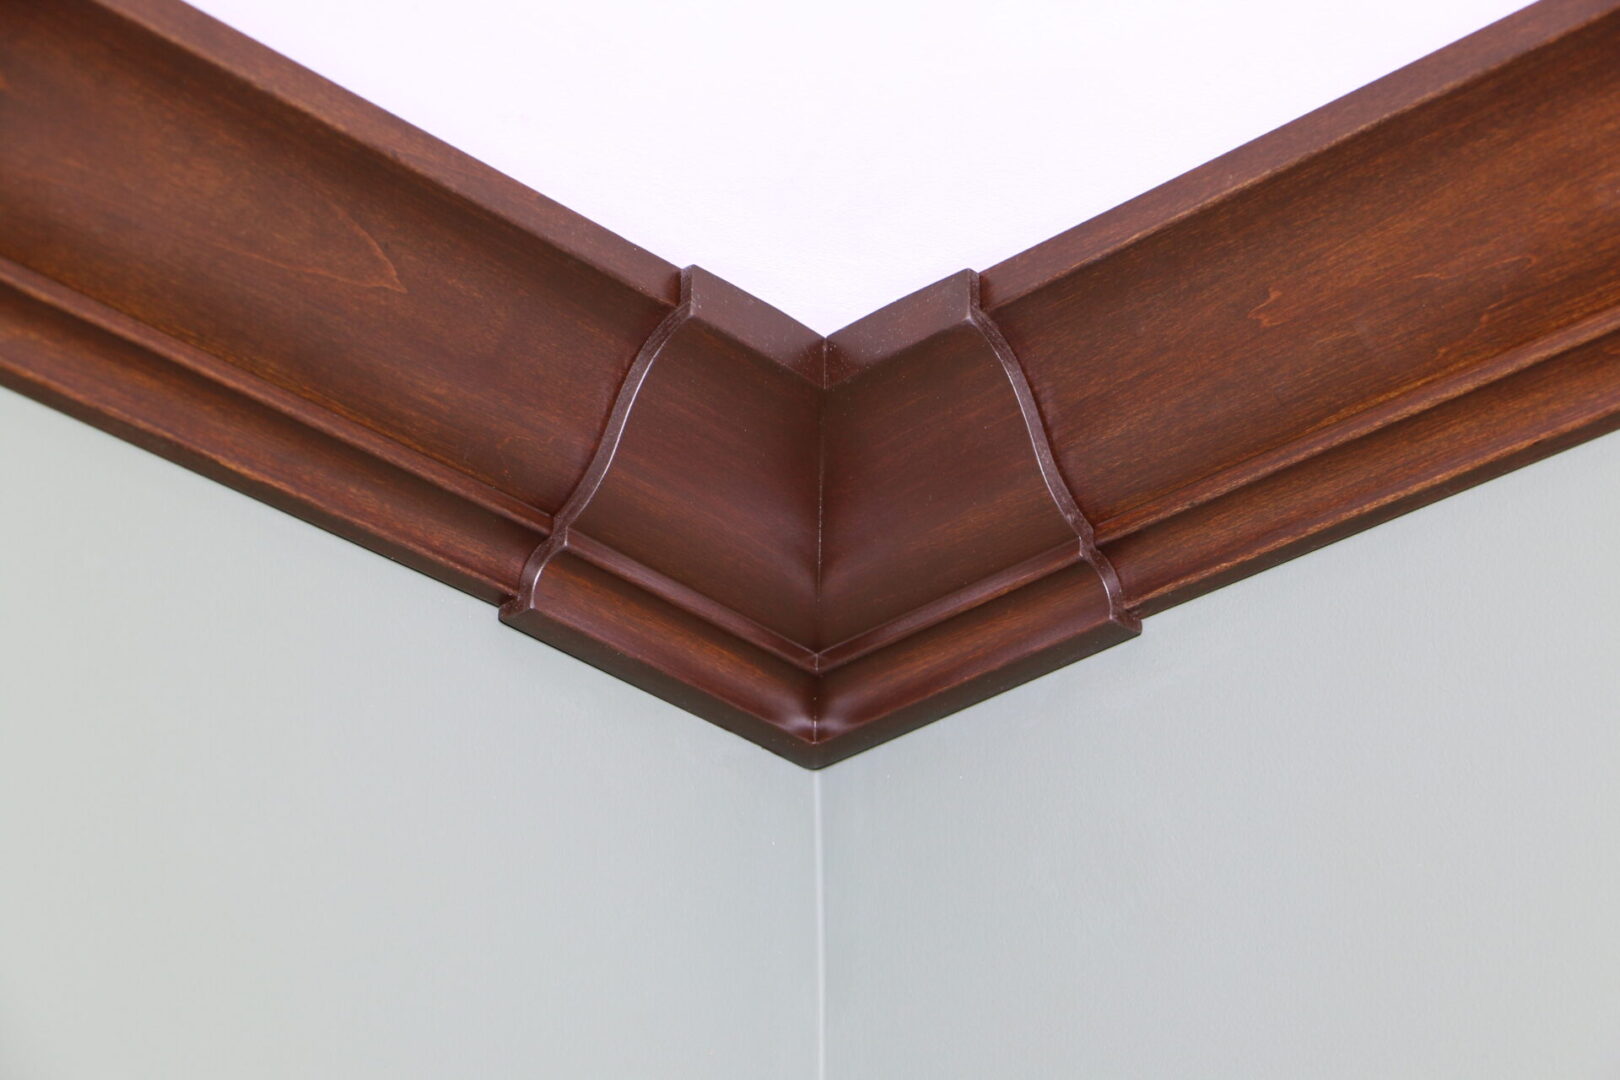
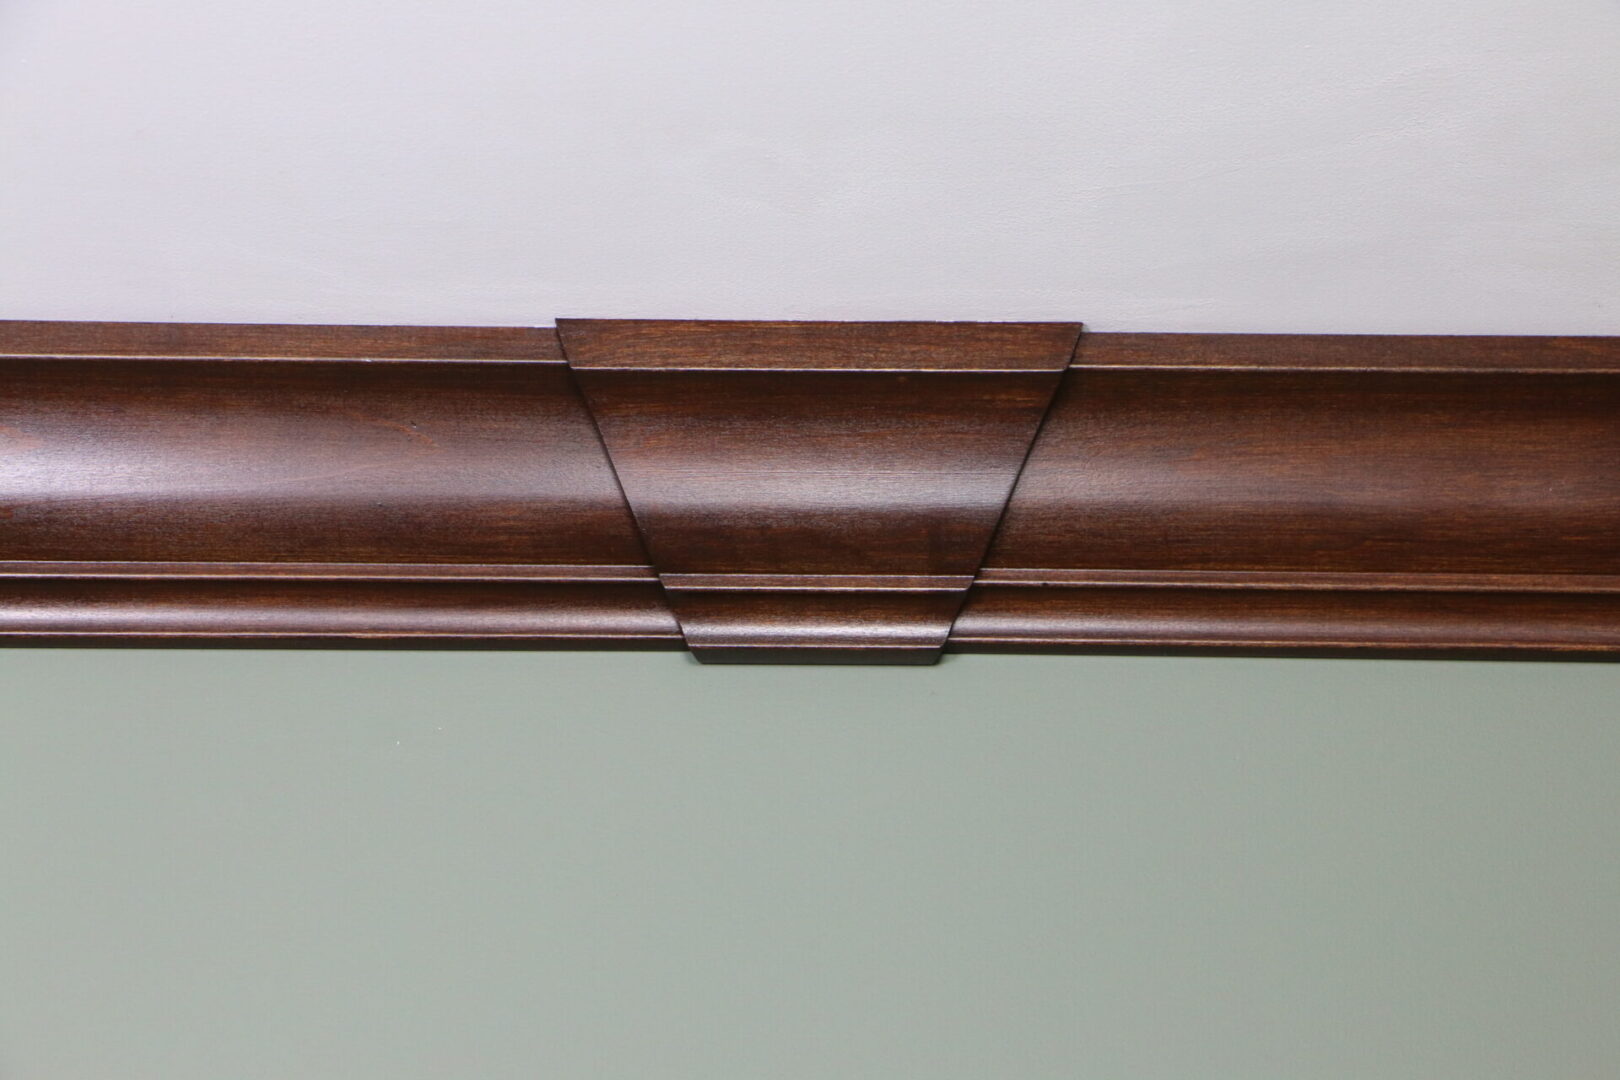
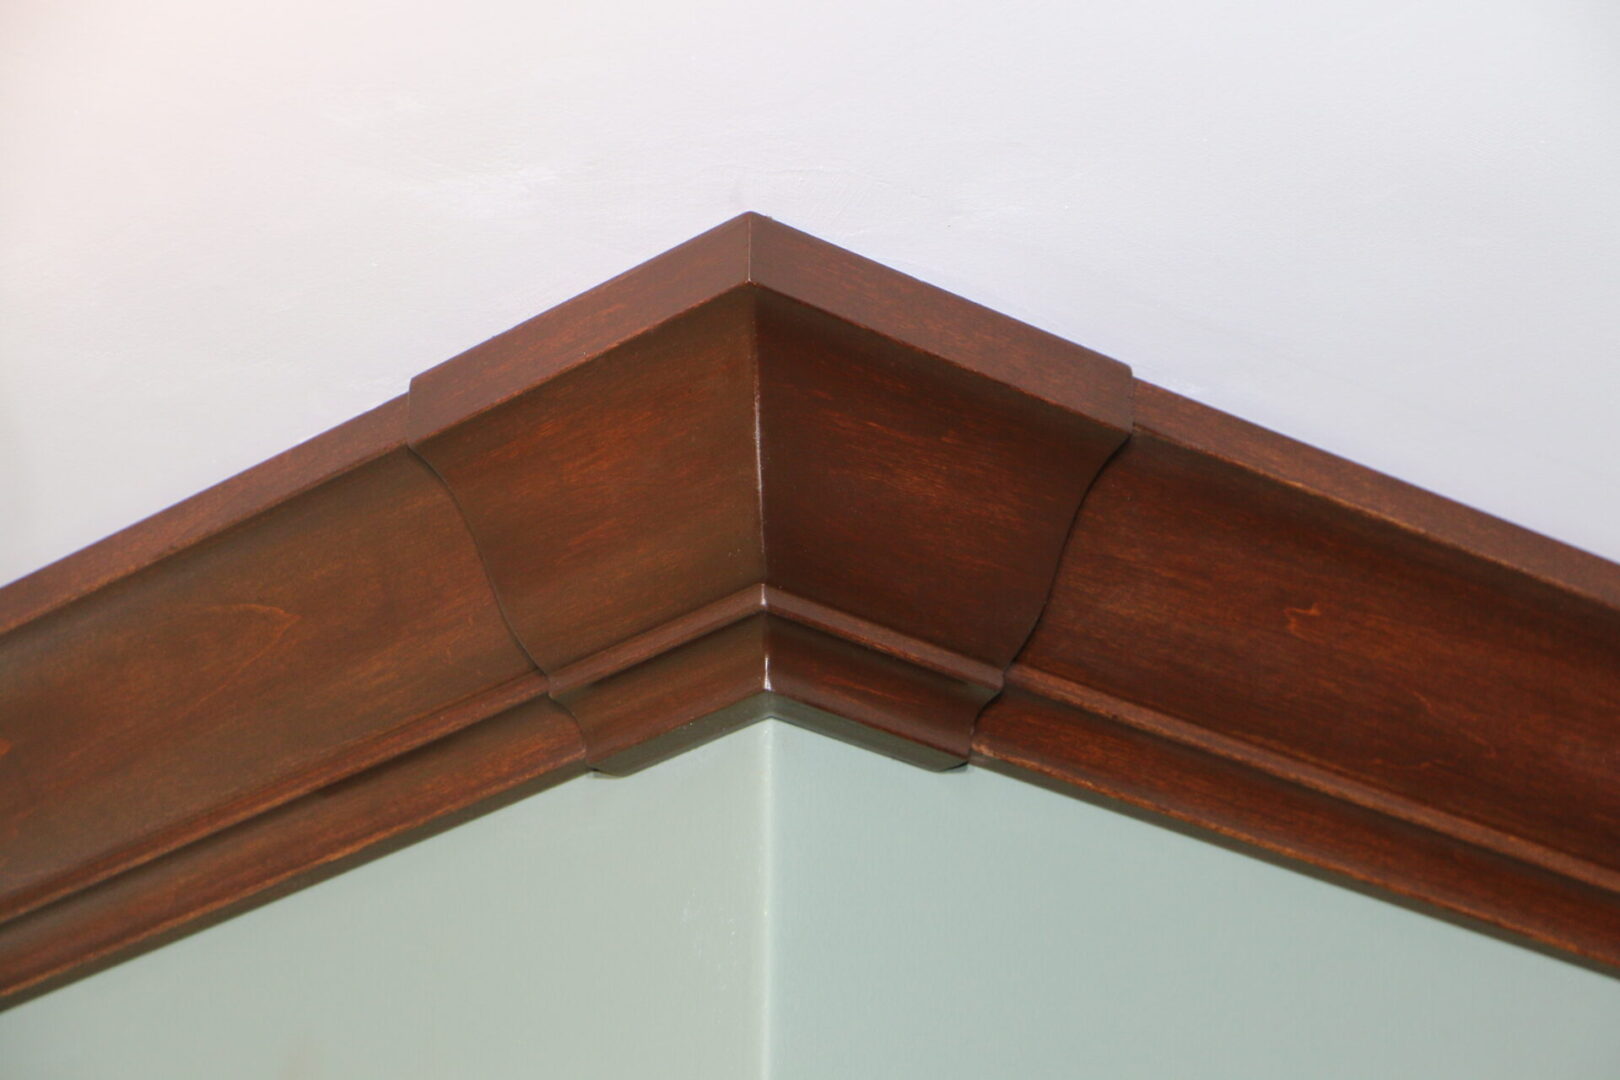
4. Measure the distance between component markings. This is the length you will need to cut your moulding.
5. After you have made your cuts, simply line up one end of your crown moulding to your mark and press it into the back track.
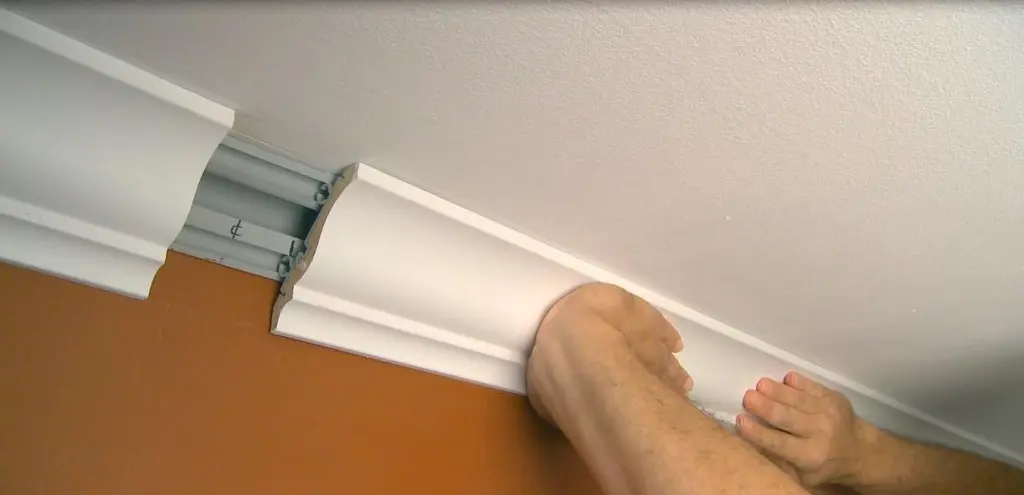
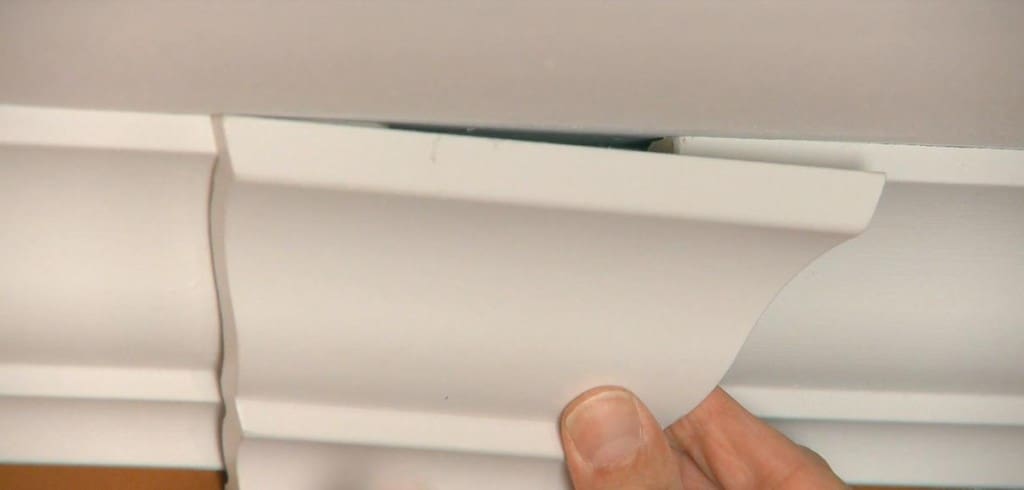
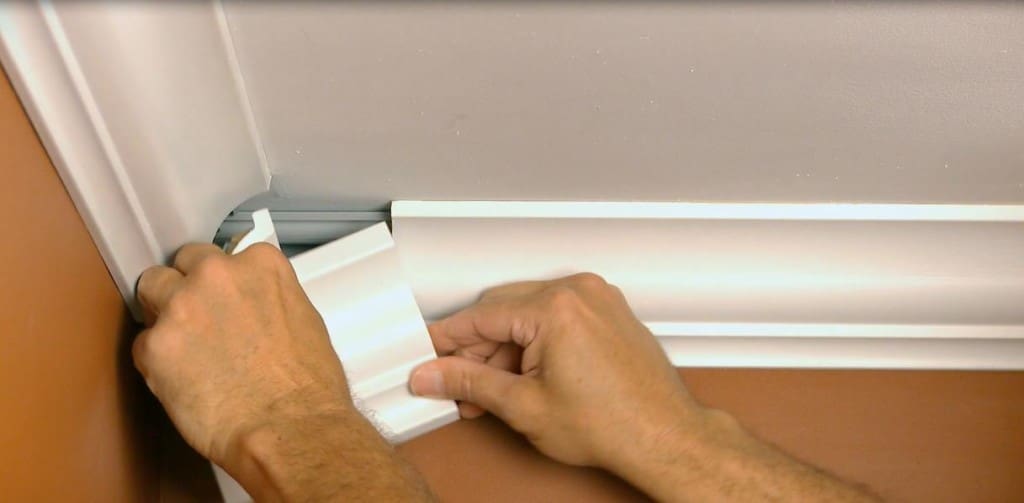
6. When all your linear pieces are installed, you can install all seam covers and corners.
-
All cuts can be made quickly and easily at 90 degrees – no complex angles.
-
Install Ethernet/structured cabling without hacking up your walls.
